You've seen it before, now you can make it yourself:
Toilet Paper Roll Wall Art
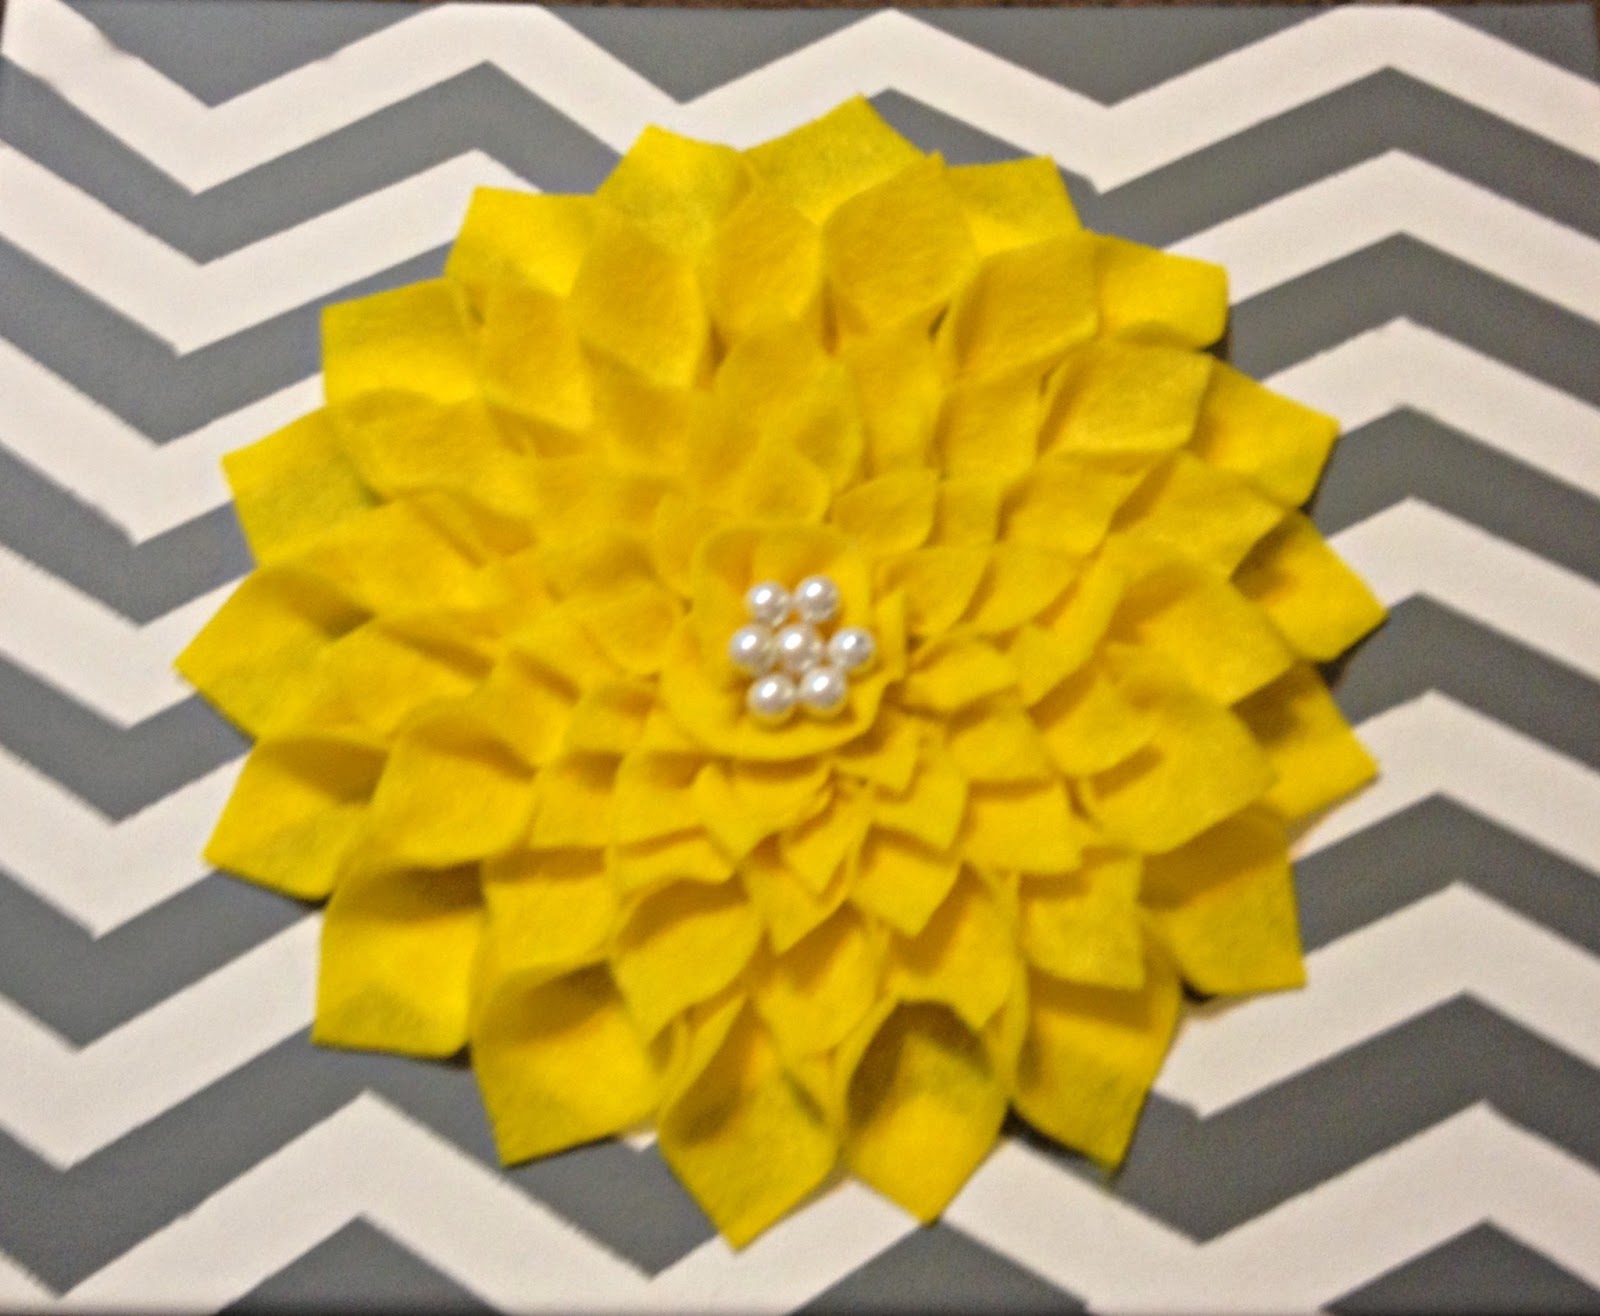
I'm sorry, did you just suggest that I hang toilet paper rolls on my wall? I may be poor but I don't want to show it in my decorating. Before you turn it down, do your toilet paper rolls look like this?
'No they don't,' you might say, but what you should be saying is, 'Not yet.'
Several months back I made the flower hanging in the first picture and then I saved up a ridiculous amount of toilet paper and paper towel rolls and decided to make something for the holidays. So yes this tutorial is a tad late, but pin it for next year if you want to make that cute Christmas tree you see above! And in five easy steps no less.
Step 1: Save some Toilet Paper/Paper towel rolls
 |
| I had a lot to work with and I didn't even use all of them |
Step 2: Fold and Cut
Simply fold the roll in half
And try to cut into 5 evenly sized pieces.
You can measure it if you want, but it seemed like too much work for me.
Step 3: Design
Play around with different designs until you find something that you like. It's super versatile so you can make it as big or small or in any shape that suits your needs.
 |
| For the holidays, I came up with a cute little Christmas tree. |
Step 4: Glue and clip to dry
 |
| Any craft glue will work, but I like how well the wood glue adheres and how quickly it dries. |
For the record, this is way to much glue. You only need a little dot. It spread once you push the two pieces together. It's helpful to make your design first and then just glue pieces a little at a time so you don't forget how you designed it.

Since it would really suck to hold something together and wait for it to dry, I use clothes pins and bobby pins. They're the perfect size that they can fit around each other to glue pieces that are close together.
 |
| For the Christmas tree I glued each individual branch and then glued them all together. |
Step 5: Paint
 |
I chose the cheapest spray paint possible since the goal of this project was to spend time not money. But if you're doing your design in black I would recommend a metallic spray paint.
And Viola! You just made a toilet paper roll wall hanging, Congratulations! Now hang it up so you can sit and admire it.
|




 Since it would really suck to hold something together and wait for it to dry, I use clothes pins and bobby pins. They're the perfect size that they can fit around each other to glue pieces that are close together.


